Planning to set up an indoor grow tent? If you’re new to growing indoors, this can seem like a daunting task. However, every grow tent kit should come with step-by-step instructions to help walk you through the process and create a great growing environment for your plants.
Indoor grow tents are made for growers at all levels. Whether you just started growing or are a seasoned pro, you should have no problem getting your tent up and running.
Remember, indoor grow tent setup always varies depending on your specific tent. Always look over the manufacturer’s instructions carefully prior to setup. However, below we’ve outlined some rough guidelines for setting up your tent.
Step One: Gather Your Tools
You want indoor grow tent setup to go as smoothly as possible. The last thing you want is to find out halfway through you lack the necessary equipment. It’s always a good idea to make sure you have everything you need first.
Again, it varies depending on your specific tent, but you usually need the following tools for a grow tent:
- Tape Measure: When setting up your ventilation system and carbon filter, precise measurements prevent light from leaking. Tape measure is a must.
- HVAC Ducting: You’ll use this to install your filtration system (although some carbon filters may come with ducting).
- Wire Cutters: You’ll need to cut out pieces of ducting throughout the process, so make sure you have wire cutters on hand.
- Flathead Screwdriver: Usually, you’ll use a flathead screwdriver on your ducting clamps, so be sure to have one handy.
Step Two: Assemble The Tent
Building The Frame
Frame set up varies depending on your tent, so be sure to follow your instructions closely.
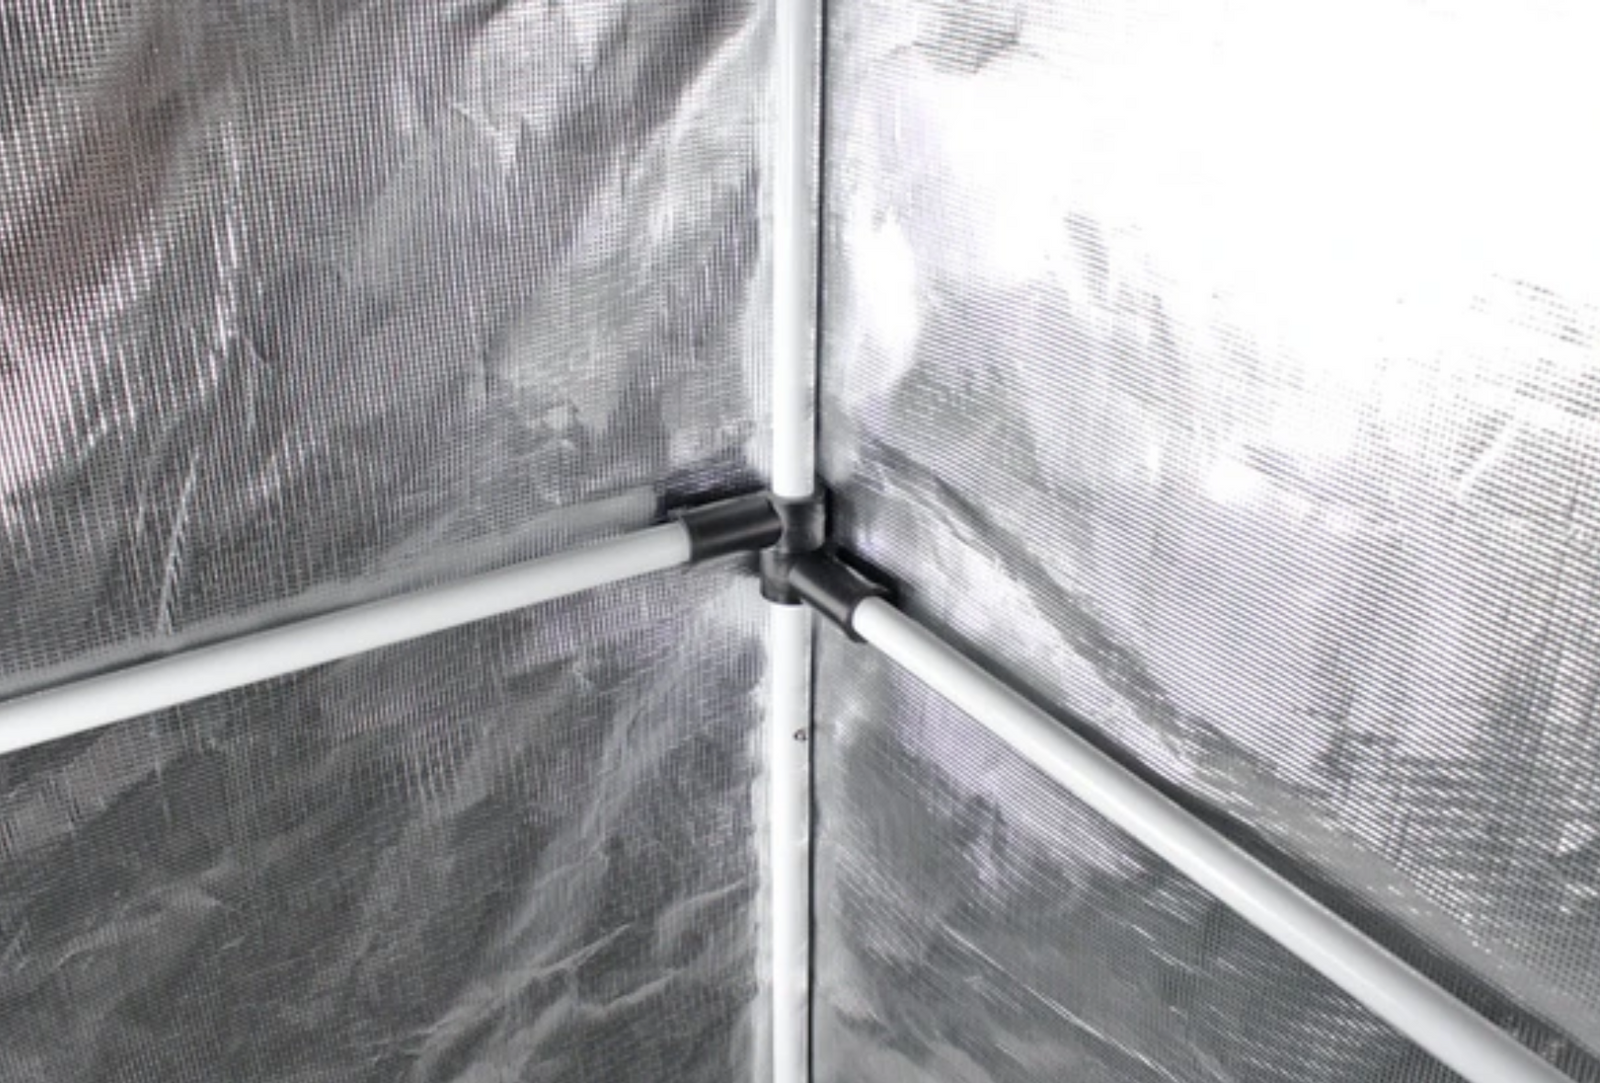
Usually, grow tents come with poles that you attach to connector corners to construct either a square or rectangular shape. Make sure you screw everything into place tightly. You’ll be mounting lots of equipment on your tent, so it needs to be sturdy.
Putting On The Cloth
Once your frame is secure, it’s time to add the cloth. Before you start, look over your cloth quickly to make sure it’s in good shape. Make sure the zippers work, the seams are sewn shut, and there are no holes or tears.
If your cloth’s in good condition, it’s time to pull it over the frame. Getting the cloth over the grow tent can be a little tricky, sort of like pulling a fitted sheet over a mattress. Don’t be surprised if it takes a few tries to get the cloth secure.
Step Three: Set Up The Lights
How you hang your lights varies depending on the type you buy. LED grow lights will have different requirements than options like HID lights, obviously, so be sure to refer to your instruction manual for specifics.
Ideally, you should install your lights so their height is easily adjustable. You’ll have to reposition lights frequently throughout the growth cycle. Rope ratchets are a good option for attaching lights to your tent’s crossbars. They’re cheap, sturdy, and easy to install.
Attach two hanger brackets to either end of your light fixture, following the instruction manual. Then, clamp two rope ratchets to your tent’s crossbars. Pull the ratchet hooks down until they are equal lengths. Hook the ratchets onto the two hanger brackets. Then, tug on the pulleys attached to each ratchet to adjust your lights to the proper height.
Keep weight in mind when hanging your lights. To prevent accidents, make sure that your rope ratchets can hold twice as much as the weight of your lights.
Step Four: Figure Out The Ventilation Setup
Grow tent ventilation is vital for healthy plants. Before you begin, you need to figure out your setup.
For the best results, hang your fans and filters inside the tent. However, if your filter is too heavy to hang from the crossbars, you can also set it on the floor. This is not ideal as it takes up space and draws warm air down, but it’s better than risking a filter falling.
Avoid setting your filter outside your tent. It reduces the effectiveness of the filter, results in poor odor control, and creates a lot of noise due to the exhaust fan.
Step Five: Install Your Filter And Fan
Use the hanging equipment that came with your filter to secure it from the tent’s crossbars. Then, hang the exhaust fan near one of your tent’s ventilation holes.
Make sure the fan’s intake points towards the carbon filter and its exhaust end points towards the ventilation hole.
Step Six: Set Up The Ducting
Use your measuring tape to measure the distance between the filter and exhaust fan. Then, cut your ducting to that length. Attach one end of the ducting to the intake end of the fan. (Usually, you do so with a metal clamp that comes with your filter.) Attach the other end of the ducting to the filter.
Measure the length between the exhaust end of the fan and the nearest filtration hole. Cut your ducting to that length. Attach one end of the ducting to the exhaust end and feed it through the ventilation hole. Run the power cord through the nearest power cord hole so you can plug in the filter and fan when you’re ready to grow.
While it’s usually necessary to put your filter on the floor or hang it from the crossbars, Grozeebo tents are made with T-Slot Aluminum framing, the only framing on the market that allows for vertical mounting.
Step Seven: Hang The Temperature Gauge
Growing plants need a consistent temperature to thrive, so the temperature gauge is vital for an indoor grow tent. Much like your lights, you can use chains or rope ratchets to hang your temperature gauge from the crossbars. With Grozeebo, you also have the option of mounting your gauge vertically.
It’s best to mount your temperature gauge so it’s level with your plants. This will give you an accurate read of the temperature in the growing zone.
Step Eight: Turn Everything On
Once you have everything put together, go ahead and turn on all your equipment to make sure everything’s in working order.
The sides of your tent should bow inward when you turn on the fan. This indicates negative air pressure, a sign there are no leaks in your tent.
It’s also a good idea to walk around your house while your equipment is on to make sure the noise level or smell does not bother you.
Step Nine: Do A Final Safety Check
Make sure all your cords are off the floor. If they get wet, this could be a safety hazard.
Double check the weight limits of your crossbars and any ropes or chains you used. You want to be 100% certain your grow tent can adequately support the equipment you mounted.
Make sure there is nothing on the floor of your tent. While dismantling packaging, it’s easy to leave things like boxes and plastic wrap lying around, which pose a fire hazard.
Step Ten: Add Your Plants
If everything is safe and in working order, congratulations. It’s time to add your plants and get growing. Place your plants inside the tent and turn your systems on.
Remember to monitor temperature and humidity regularly and adjust as needed – your plants will affect the tent’s environment as you grow, so you may need to adjust things like light height throughout the growth cycle.
Remember to clean your grow tent regularly, especially right after harvesting when you’re ready to start a new crop. Wipe surfaces down with hydrogen peroxide or bleach and scrub any pots you plan on reusing.
Conclusion
Grow tent setup isn’t necessarily simple, but most grow tents are designed to appeal to growers at all different levels of expertise. If you follow your instruction manual carefully and take things one step at a time, you should be able to set up your tent without much trouble.
Remember, instructions vary greatly from grow tent to grow tent. While we’ve provided loose guidelines, be sure to follow the recommendations from your specific grow tent kit, lights, carbon filter, and so on.
Ready to get started? Grozeebo sells the only insulated grow tents on the market and our T-slot aluminum framing makes vertical mounting easy, saving you valuable space. Browse our selection here.